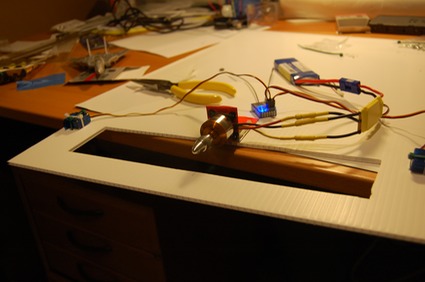
Finally, time to put stuff together. First, the motor mount - looks like the Minty Motor Mount will work for now:

Next the rest of the components were mounted, and I test-ran the motor:
The airframe is constructed from foamcore. I got a trifold foamcore piece designed to be used as a presentation backboard - a large center piece with two fold-out pieces. This had the largest single direction dimension I could find that reached 42". I then proceeded to screw it up and cut the elevons incorrectly, so it is actually an inch or so narrower than it should be. We'll see how that goes.
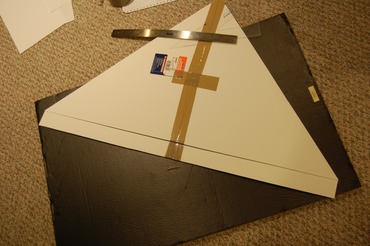
I had some trouble measuring where to properly cut the prop hole. I found the most straightforward method was to just put the deck on the airframe where it should be, then draw the hole, then cut it out.

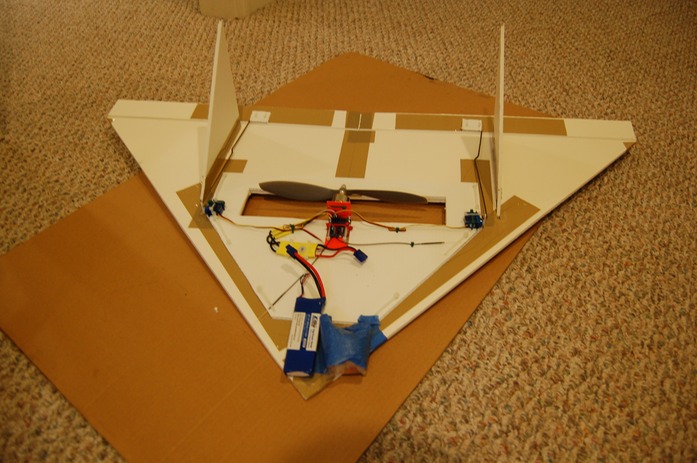
One thing that is really important when attaching the elevons is placing the hinge on the bottom side of the airframe. If you don't do this (like I did the first time), when the coroplast control horns are attached, the elevons will not rotate up properly. In the photo above, I've removed the deck and flipped the airframe over to the correct side. I patched all the holes in the foamcore with packing tape.
It should look like this:

The rest of the build was pretty straightforward. My center of gravity is back pretty far, even with the battery placed all the way forward, so I grabbed a big hunk of play doh, stuffed it in a plastic bag (I figure if it dries out it'll loose enough mass to make a difference), and taped it on.
I worked as hard as I could to make this plane look as nasty as possible - I left the stickers on the foamcore, and I used baby puke colored packing tape for the joins. My goal for the next airframe is to make it look better, but I figured there was no point in spending a lot of time making it look good when I'm pretty sure this airframe will be trashed in fairly short order.
Next up - first flight! But today it's blowing almost Force 5 or so outside. Not great for a first flight.